
 EN
EN



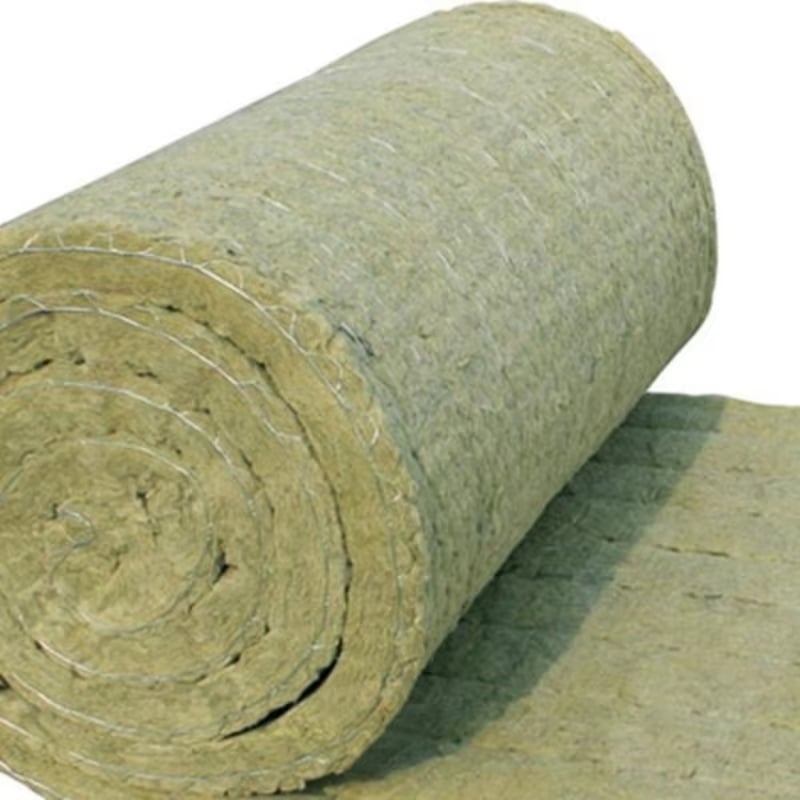
Installing insulation correctly is one of the most important decisions in any construction or renovation project, and rock wool rolls have become a preferred choice for both walls and roofs due to their outstanding thermal, acoustic, and fire-resistant properties. Whether you are working on a residential build or a commercial fit-out, rock wool rolls deliver consistent performance when installed with the right technique. Understanding the correct installation process ensures you get the full benefit of the material without common pitfalls like compression, gaps, or moisture problems.
This guide walks you through the complete process of installing rock wool rolls properly in both wall cavities and roof assemblies. From preparation and cutting to fitting and finishing, each step matters. Rock wool rolls are flexible and easy to work with, but a few key rules apply at every stage. Following those rules consistently leads to a more energy-efficient, quieter, and safer structure in the long term.
Preparing for Rock Wool Roll Installation
Tools, Safety, and Material Checks
Before you begin, gather the right tools: a sharp utility knife or serrated blade, a straightedge, measuring tape, staple gun, and protective gear including gloves, safety goggles, and a dust mask. Rock wool rolls are made from inorganic mineral fibers, which can irritate the skin and respiratory tract during handling. Wearing full protective gear protects you throughout the installation. Always work in a well-ventilated space when cutting or trimming rock wool rolls indoors.
Check that your rock wool rolls match the required density and thickness for the specific application. Wall cavities typically call for a different specification than roof assemblies. Verify that the rock wool rolls are dry and undamaged before installation. Wet or compressed rock wool rolls will underperform, so inspect every package carefully and allow any slightly damp material to air out completely before use.
Measuring and Cutting Rock Wool Rolls Accurately
Accurate measurement is critical. Measure each stud bay or rafter space individually rather than assuming uniform sizing, as framing tolerances vary. Cut your rock wool rolls slightly wider than the measured gap — by about 10 to 15 millimeters — so the material creates a friction fit when pressed into place. This friction fit eliminates edge gaps, which are a common source of thermal and acoustic performance loss. Use a straightedge and a sharp knife to achieve clean, straight cuts through rock wool rolls without tearing the fiber structure.
Installing Rock Wool Rolls in Walls
Fitting Rock Wool Rolls into Wall Cavities
For wall installations, rock wool rolls are fitted between vertical studs in timber or steel framing. Push the rock wool rolls firmly into each bay so they sit flush with the face of the studs, with no gaps at the edges, top, or bottom. Gaps in wall insulation reduce both thermal resistance and sound attenuation, undermining the value of using rock wool rolls in the first place. When using thicker rock wool rolls in deep stud bays, avoid folding the material. Instead, layer two thinner pieces if necessary to avoid compressing the fibers.
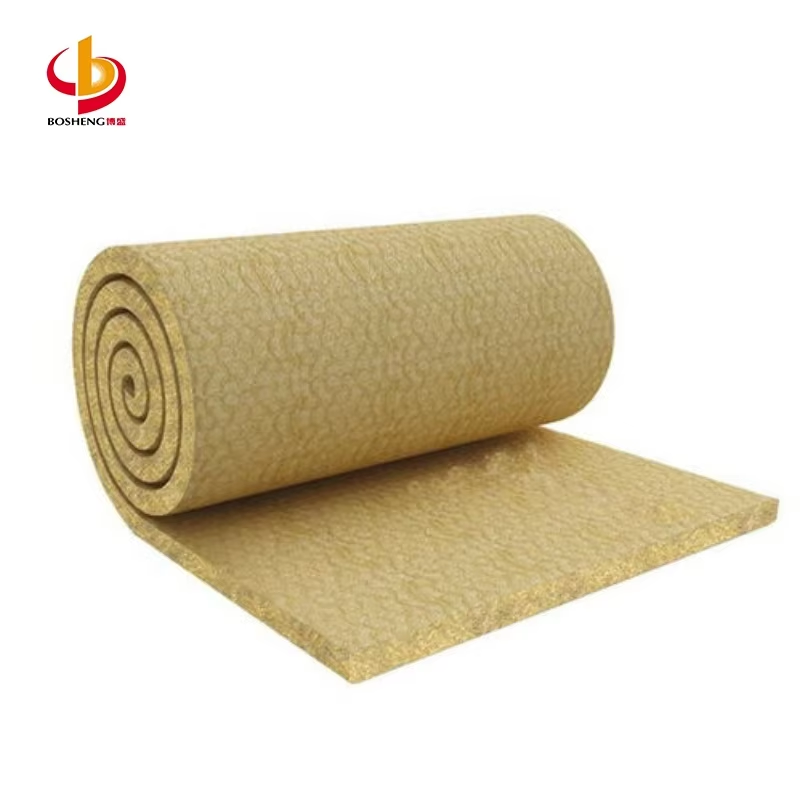
Rock wool rolls should never be compressed during installation. Compression reduces the material's effective thickness and its trapped air volume, which directly lowers thermal resistance. If rock wool rolls feel overly stiff in a tight bay, trim them slightly rather than forcing them in under pressure. Pay special attention to areas around electrical boxes, pipes, and blocking — cut the rock wool rolls to fit snugly around these obstructions rather than folding or bunching the material.
Vapor Control and Wall Finishing
In climates where vapor control is required, a vapor control layer is typically installed on the warm side of the rock wool rolls after fitting. Secure this layer with staples to the stud faces and tape all joints. Once the vapor layer is in place, board or sheathe over the rock wool rolls according to your wall assembly design. Rock wool rolls are non-combustible and dimensionally stable, so they remain secure behind the wall lining without sagging or settling over time.
Installing Rock Wool Rolls in Roofs
Between-Rafter and Above-Rafter Installation
Roof installations using rock wool rolls follow a similar fitting logic but with greater attention to the direction of ventilation. In a pitched roof with between-rafter insulation, rock wool rolls are pushed up between the rafters and held in place by friction. Ensure a ventilation gap of at least 50 millimeters is maintained between the top surface of the rock wool rolls and the underside of the roof deck. This gap prevents condensation buildup, which can cause structural timber decay over time. Rock wool rolls should not block this airflow path under any circumstances.
For flat roof or above-deck applications, rock wool rolls are laid horizontally across the structure and covered with a protective membrane or deck board. In these assemblies, rock wool rolls must be butted tightly at all joints with no visible gaps. A second layer of rock wool rolls is often laid at 90 degrees to the first, with joints staggered to eliminate cold bridging. This cross-layering approach is one of the most effective ways to maximize the thermal performance of rock wool rolls in flat roof construction.
Finishing the Roof Insulation Layer
Once rock wool rolls are fitted between rafters, a second layer can be installed at a right angle beneath the rafters to eliminate thermal bridging through the timber. This counter-batten method significantly improves overall roof thermal performance. After the second layer of rock wool rolls is secured, install the interior ceiling lining according to your building specification. Rock wool rolls are compatible with standard plasterboard, timber boarding, and most other interior finish materials.
FAQ
Can rock wool rolls be used in both internal and external wall applications?
Yes, rock wool rolls are suitable for internal wall cavities as well as external wall systems when used within a correctly designed assembly. For external applications, rock wool rolls must be protected from prolonged moisture exposure and combined with appropriate weatherproofing layers. Always follow the manufacturer's specifications and local building codes when specifying rock wool rolls for external use.
How do I ensure rock wool rolls perform well acoustically in walls?
Acoustic performance from rock wool rolls depends heavily on complete, gap-free installation. Any void in the wall cavity — even a small edge gap — will allow sound to bypass the insulation. Fit rock wool rolls tightly between studs, seal all penetrations around pipes and cables with acoustic sealant, and combine rock wool rolls with a high-mass board for best sound reduction results in partition walls.
What density of rock wool rolls is recommended for roof insulation?
For between-rafter roof insulation, rock wool rolls with a density of 40 to 60 kilograms per cubic meter are typically recommended, offering a good balance of thermal resistance and structural stability. Higher-density rock wool rolls are sometimes used in flat roof assemblies where compressive strength under foot traffic or loading is a consideration. Always match the density specification of your rock wool rolls to the structural and thermal requirements of the specific roof assembly.