
 EN
EN



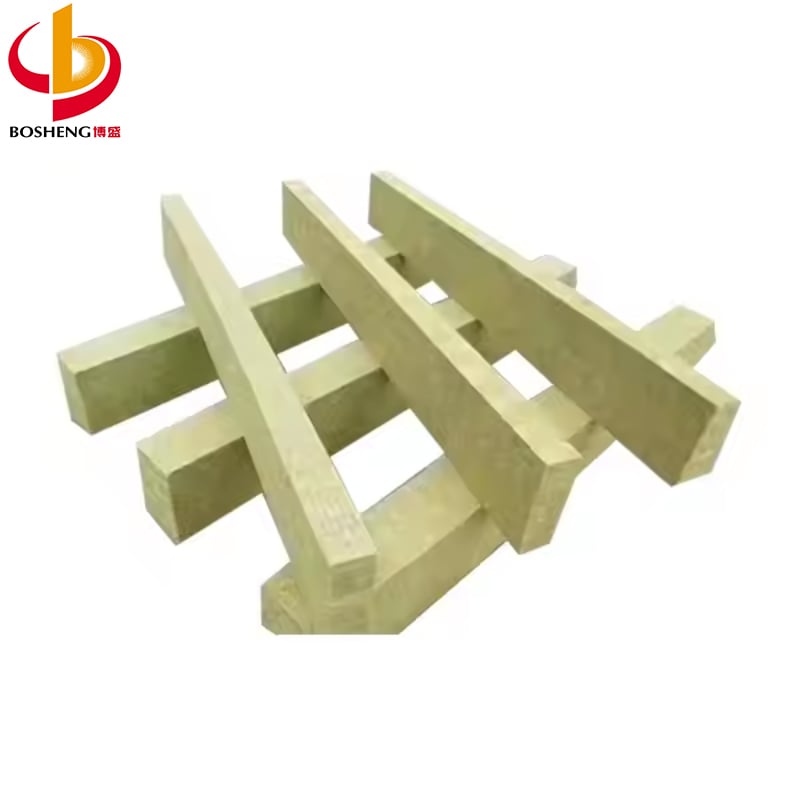
Installing a rock wool strip in a standard flat surface is straightforward, but narrow gaps, curved edges, and irregular cavities present a different challenge entirely. Whether you are insulating an industrial boiler perimeter, sealing a structural joint, or fitting insulation around complex pipe runs, knowing how to handle and position each rock wool strip correctly determines whether your installation delivers reliable thermal performance or leaves costly gaps.
This guide walks through the practical steps and techniques for fitting a rock wool strip into confined and non-standard spaces. From surface preparation and material cutting to final fastening and sealing, every stage matters when working outside the boundaries of a simple rectangular cavity. A properly installed rock wool strip will not compress unevenly, will not leave thermal bridges, and will remain stable under operational temperature cycles over the long term.
Preparing the Surface and Sizing Each Rock Wool Strip
Surface Assessment Before Fitting a Rock Wool Strip
Before placing any rock wool strip, inspect the target area closely. Narrow channels and irregular cavities often contain residual adhesive, corrosion, or projecting fasteners that will prevent a rock wool strip from seating flush. Remove debris, grind down any protruding welds or bolts, and confirm the channel depth. A rock wool strip that cannot reach the back of a cavity will leave an air gap that reduces insulation effectiveness significantly.
Measure the cavity width, depth, and any contour changes at multiple points. Irregular spaces rarely maintain a consistent dimension, and each rock wool strip section may need a slightly different cut. Mark your measurements directly on the rock wool strip material using a straight edge and a permanent marker before cutting. This step prevents wasted material and ensures each piece fits the first time.
Cutting Techniques for a Rock wool Strip
A rock wool strip can be cut cleanly with a sharp serrated knife or a fine-tooth handsaw. For narrow widths, score the face of the rock wool strip with a utility knife and snap the piece away from the parent roll or mat. For curved or angled cuts required by irregular profiles, use a template made from cardboard or flexible sheet metal. Hold the template against the rock wool strip surface, trace the profile, and follow the line carefully. Avoid tearing, as a rough edge on a rock wool strip reduces edge contact and creates localized gaps.
Fitting and Securing Rock Wool Strip in Confined Spaces
Compression Fit Versus Adhesive Bonding
In very narrow gaps, a rock wool strip can be installed using a compression fit method. Cut the rock wool strip slightly wider than the gap, approximately five to ten percent, so it exerts gentle lateral pressure against both sides of the cavity when inserted. This approach works well for vertical channels and structural joints where mechanical fasteners cannot be used. However, do not over-compress a rock wool strip, as excessive compression reduces its loft and diminishes thermal resistance.
For irregular surfaces that cannot hold a compression fit, apply a compatible high-temperature mineral wool adhesive to the back face of the rock wool strip before pressing it into position. Work in small sections so the adhesive does not skin over before the rock wool strip makes contact. Press firmly and hold each rock wool strip segment for several seconds to allow initial bonding. In high-vibration environments such as industrial boilers or mechanical plant rooms, combine adhesive bonding with stainless steel pins or banding wire to retain each rock wool strip segment securely.
Layering a Rock Wool Strip Around Complex Profiles
Pipes, brackets, flanges, and angled structural members demand a layered approach. Rather than attempting to cut a single rock wool strip to match a complex profile perfectly, divide the installation into multiple thinner rock wool strip pieces. Apply the first rock wool strip layer to cover the largest flat area, then cut smaller rock wool strip segments to fill around obstructions. Stagger all rock wool strip joints so that no two seams align across adjacent layers. This eliminates through-gaps that would create a direct thermal path across the insulation.
When wrapping a rock wool strip around a curved surface, make relief cuts perpendicular to the long edge of the strip at regular intervals. These cuts allow the rock wool strip to conform to the curve without buckling or lifting at the edges. Space relief cuts closer together for tighter radii. After positioning, secure the rock wool strip with banding wire or a suitable insulation jacket to maintain the curved shape during thermal expansion and contraction cycles.
Sealing, Finishing, and Inspecting Rock Wool Strip Installations
Sealing Joints Between Rock Wool Strip Sections
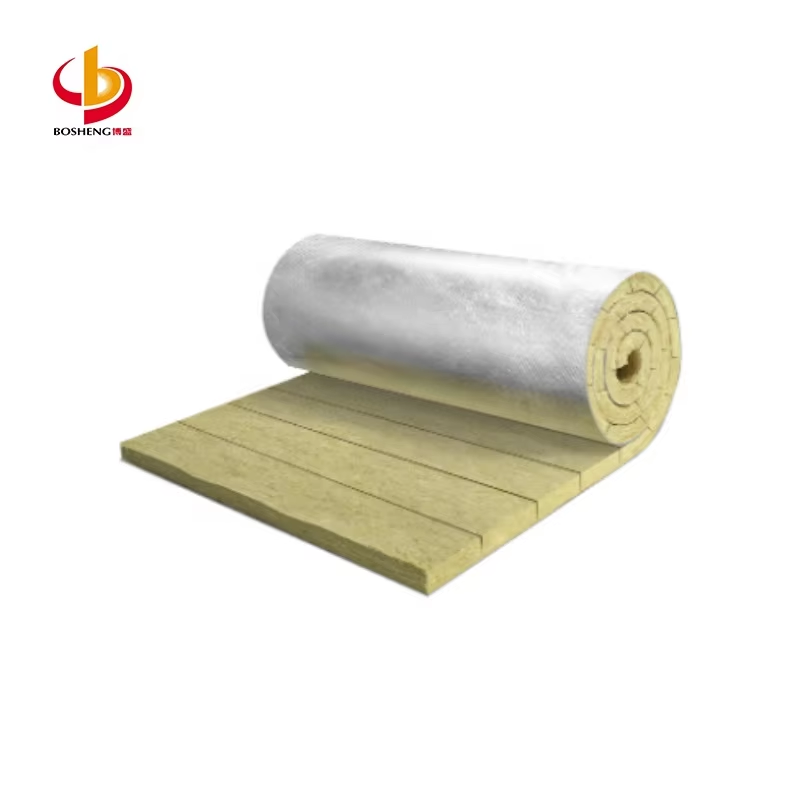
Every joint between adjacent rock wool strip sections is a potential thermal weak point. After all rock wool strip pieces are in place, check every seam for visible gaps. Fill minor gaps with small off-cuts of rock wool strip material, pressing them firmly into the joint until they sit flush. For exposed installations, apply a mineral wool sealant or a compatible refractory coating over the joints to prevent moisture ingress and fiber erosion caused by air movement.
In industrial settings where the rock wool strip will be covered by a cladding sheet or protective jacket, ensure the rock wool strip surface is uniformly flat before the cladding goes on. Any uneven areas where one rock wool strip segment is proud of its neighbor will create stress points in the cladding and may cause it to loosen over time. Light hand pressure along each seam and a straightedge check will confirm a flush, continuous rock wool strip surface ready for cladding.
Final Quality Inspection of Each Rock Wool Strip Section
After completing the installation, perform a systematic visual and tactile inspection of every rock wool strip section. Press lightly along the full length of each rock wool strip to confirm it is fully seated with no hollow spots behind it. Check that every rock wool strip joint is tight, every fastener is secure, and no rock wool strip edge is lifting away from the substrate. Document the installation with photographs, especially in hard-to-access areas, so that any future maintenance team can verify the original rock wool strip layout without dismantling the cladding.
FAQ
Can a rock wool strip be reused after removal from an irregular cavity?
A rock wool strip that has been compression-fitted or bonded into an irregular space is generally not reusable without quality loss. Removal distorts the rock wool strip shape and may reduce its density. For critical thermal applications, use a fresh rock wool strip for any reinstallation to ensure consistent performance and correct fit.
What thickness of rock wool strip is best for very narrow gaps?
For gaps narrower than twenty millimeters, choose a rock wool strip with a high-density specification so that even a thin section delivers adequate thermal resistance. A higher-density rock wool strip also resists compression better, which is important in tight spaces where surrounding structures may exert lateral force on the insulation material.
How do I prevent a rock wool strip from absorbing moisture in a humid industrial environment?
Select a rock wool strip with a hydrophobic treatment, which causes water to bead off rather than penetrate the fiber matrix. Pair this with a vapor barrier or protective aluminum jacket over the finished rock wool strip installation. Ensuring tight seams and sealed joints also minimizes moisture ingress and extends the service life of the rock wool strip significantly.